Heat Settings, Pauses, and Tasting: A Sequence for Weeknight Soup Pots
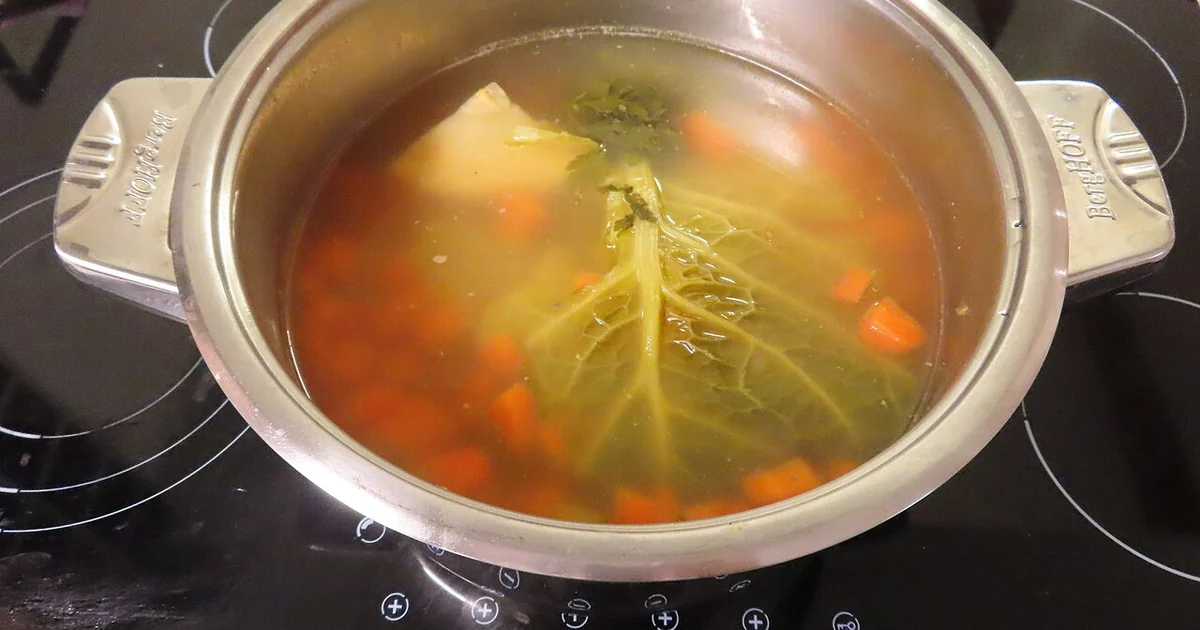
Most soup problems are not really recipe problems. A pot that tastes flat, a broth that turns cloudy, or a dinner that runs an hour late usually traces back to how the cook managed heat, time, and attention. This article looks at one specific habit set: planning the burner settings before the pot goes on, building short deliberate pauses into the simmer, and tasting at fixed checkpoints rather than once at the end. These habits cost little and make ordinary soup nights more predictable, whether you are cooking a simple family pot or a comfort bowl you have made many times.
Decide Your Heat Plan Before the Pot Goes On
Many home cooks set the burner to high, wait for the liquid to move, then forget the dial until something boils over. A heat plan is a short written line you make before you start: the setting for sautéing aromatics, the setting for the first boil, and the setting for the long simmer. Writing these down takes less than a minute and removes most of the guessing.
A useful pattern is three stages. Sauté at medium so onions and garlic soften without browning unless the recipe calls for color. Bring the liquid up with the lid partly open so you can watch it. Then drop to the lowest setting that keeps small bubbles breaking the surface. Many soups that turn tough or cloudy were boiled hard for too long, while the cook assumed a simmer was happening.
Ask yourself three questions before you commit: Is my burner's lowest setting still producing steady bubbles, or does it fade out? Is my pot heavy enough to hold heat evenly, or does it hot-spot at the bottom? Will I be in the kitchen for the next twenty minutes, or do I need a setting I can leave alone? Your answers will shape whether the plan works on your stove.
Use Pauses as Part of the Recipe
A pause is a deliberate break in active work, usually between adding ingredients and returning to the pot. Cooks often skip pauses because they feel like wasted time, yet a short break is where many soups get their balance. After you add a liquid or a protein, stepping away for two or three minutes lets the temperature settle so you can see how the pot actually behaves.
Build pauses into specific points rather than leaving them to chance. A good place is right after the first boil, when the surface is most active and it is easy to misjudge how fast things are moving. Another is after you add delicate ingredients such as leafy greens or fish, which need time to cook without being overworked. Use the pause to set a timer, wipe the counter, or prepare the next item, so the break does real work.
A simple checklist for pauses: Note the time you start the simmer. Pause once the surface is steadily bubbling and check the burner. Pause again before you add anything that cooks quickly. Pause before you season, so you taste a settled broth rather than a pot still stirring with heat.
Taste in Stages Instead of Once at the End
Tasting only at the end forces a cook to fix problems in a rush. A problem that could have been solved by a longer simmer or a small adjustment early becomes a scramble to rescue a finished bowl. Tasting in stages means you check the pot at fixed points and make small changes while there is still time for them to take effect.
Choose three checkpoints: after the aromatics have softened and the base is in, after the liquid has simmered for about half the planned time, and near the end before final seasoning. At each point, taste the broth alone if you can, with a clean spoon, and ask what is missing. Is it too thin, too sharp, too flat, or too salty? Adjust in small increments and note what you did.
Keep a brief record over several weeks. Write the burner setting, the simmer time, and what you adjusted at each checkpoint. Over time this log shows you how your particular stove and pot behave, which is more useful than any general rule.
A Practical Checklist for Your Next Pot
Before cooking, write your three heat settings and the time you expect each stage to take. Confirm your pot is the size the recipe assumes, because a crowded pot heats unevenly and changes the simmer. Decide your three tasting checkpoints in advance so you are not improvising under pressure.
During cooking, pause at the points you planned, not only when you feel rushed. Adjust the burner in small steps rather than large jumps. Taste with a clean spoon each time, and write down any change you make.
After serving, note what worked and what did not. Was the broth cloudy? Did a delicate ingredient overcook? Did the timing leave you stranded in the kitchen? Use these notes to refine the plan for the next pot. Over a month of ordinary soup nights, these small habits tend to produce steadier results and calmer evenings than trying to fix everything at the last minute.