Pot Lid Logic: Habits for Heat Control in Comfort Soup Cooking
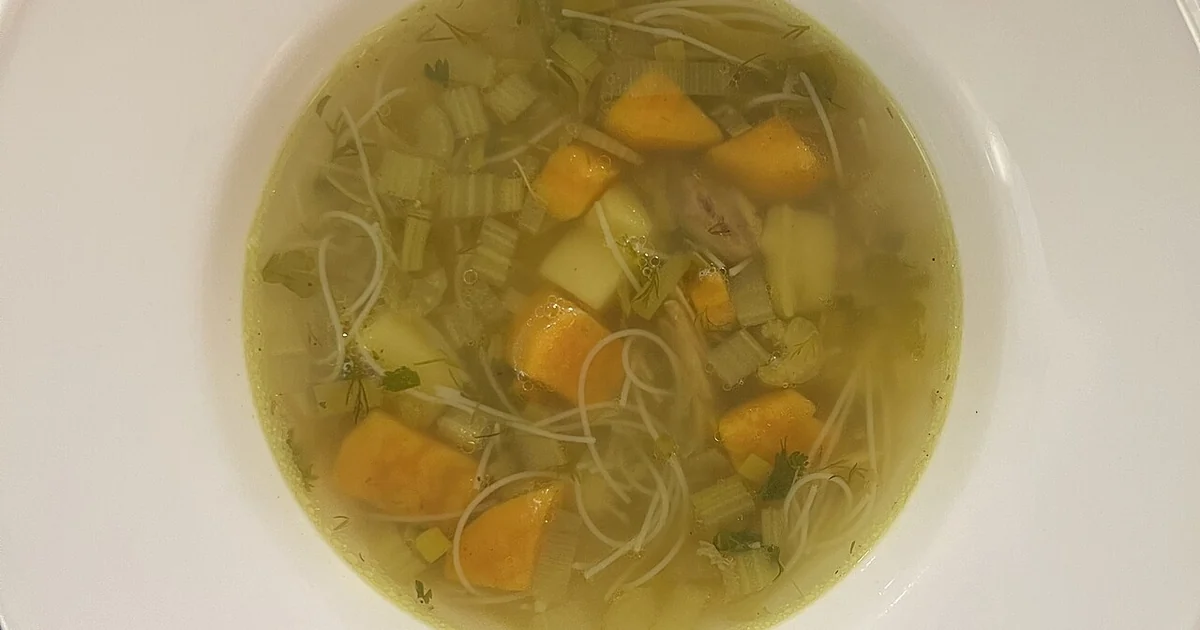
Most home cooks who struggle with soup do not lack recipes. They lack a repeatable way to manage heat, moisture, and timing while the pot sits on the stove. A simmering pot looks forgiving, yet small habits decide whether broth turns clear and rich or cloudy and flat, whether vegetables hold their shape, and whether the bottom scorches before anyone sits down. This article focuses on one overlooked area: lid use and heat adjustment. The goal is not a rigid rulebook but a set of questions and routines you can adapt to whatever soup you are making tonight, whether it is a light vegetable broth or a heavier stew built on slow-cooked meat and aromatics.
Why the lid matters more than most recipes admit
A lid traps steam and holds heat, which speeds up a boil and keeps the surface temperature steady. In soup, this is useful during the early stage when you want protein or root vegetables to soften. Once the liquid reaches a simmer, however, a fully closed lid can cause the pot to bubble too aggressively, sending starch and fat into the broth and pushing it toward cloudiness. A partially covered pot, with the lid cracked or set slightly askew, lets some steam escape while keeping the heat even.
Before you start, decide what the lid is for at each stage. Early on, a full lid helps bring the liquid up to temperature. Mid-cook, a partial lid controls evaporation. Near the end, you may remove the lid entirely so the broth can reduce slightly and concentrate. Writing these three stages on a note near the stove is a simple habit that prevents guessing halfway through the process.
Reading the pot instead of the clock
Recipes give times, but times assume a pot size, a burner output, and a volume of liquid that may not match your kitchen. A better approach is to read three signals: sound, steam, and surface. A gentle simmer produces small, occasional bubbles that break the surface without a rolling boil. Steam should rise in a light, steady wisp rather than a heavy plume that suggests the liquid is evaporating too fast. The surface should look slightly moving, with a few bubbles forming at the edges and rising slowly through the middle.
If the pot roars or spits, lower the flame before doing anything else. If the surface looks nearly still and no bubbles appear, raise the heat slightly. Make one adjustment at a time and wait a few minutes before judging the result. Many home cooks overcorrect, swinging between high and low, which stresses the broth and makes it harder to hold a stable temperature.
Checkpoints to build into every soup session
A repeatable routine reduces mistakes. Consider a short checkpoint list that you run through at fixed moments: once when the pot reaches a simmer, once halfway through the cooking time, and once before you add delicate ingredients or seasoning. At the first checkpoint, confirm the heat level and set the lid position. At the midpoint, skim any foam or excess fat, stir gently from the bottom to prevent sticking, and check how much liquid remains. Add water only if the level has dropped noticeably and the recipe allows it. At the final checkpoint, taste the broth, adjust salt cautiously, and decide whether the lid should come off to concentrate the flavor.
Keep a short written note of what you observed, such as the heat setting, the lid position, and how the broth looked at each checkpoint. Over several cooking sessions, these notes reveal patterns specific to your stove, your pots, and your preferred texture.
Questions to ask before you cover the pot
Before reaching for the lid, pause and ask a few direct questions. Is the liquid already at a simmer, or am I trying to speed up the initial heating? Am I trying to retain moisture or to reduce it? Are the ingredients in the pot likely to break down quickly, such as leafy greens or thin noodles, which may need the lid off or added only at the end? Does the recipe call for a covered simmer, or am I covering out of habit?
These questions matter because a lid that suits one soup can ruin another. A pot of tomato-based stew with a lot of acid may thicken unevenly under a tight lid, while a clear broth meant to stay light often benefits from partial covering. Treat the lid as a tool you choose deliberately rather than a default.
A practical comparison for stove-top soup habits
Fully covered, low simmer: Best for tenderizing meat, beans, or root vegetables over a longer period. Moisture is retained, flavors blend gently, and the risk of scorching is lower if the heat is steady. The drawback is that broth may stay diluted and can look cloudy if the bubbling is too strong.
Partially covered, gentle simmer: Suited to most everyday soups. Steam escapes slowly, which concentrates the broth modestly and keeps the surface calm enough for a clearer result. This is the default that many experienced cooks return to when they are unsure.
Uncovered, reduced simmer: Useful at the end of cooking when you want a richer, more concentrated broth or need to remove excess liquid. Watch the pot closely because evaporation accelerates and the bottom can scorch if you stop stirring.